Import the autoenrollment configuration file
Each Microsoft Autoenrollment certificate profile stores data in an autoenrollment configuration file. The autoenrollment configuration file publishes data to the Active Directory, which includes:
Details about the enrollment service and supported templates.
DigiCert’s trusted CA certificates.
Nota
The user running the Autoenrollment Config utility must have administrator rights to store the configuration data in the Active Directory and the system's registry.
To import the autoenrollment configuration file:
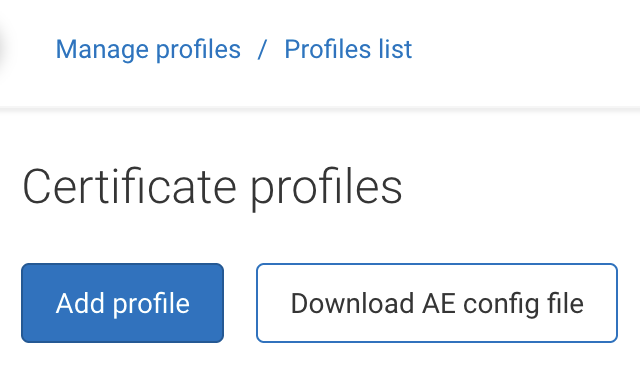
Select Download AE config file from the Certificate profiles page in DigiCert® Trust Lifecycle Manager.
Nota
Note that this button is only shown on the Certificate profiles page if there are profiles configured for Microsoft Autoenrollment in the list and if your user profile has the required permissions for configuration file download. The minimum permissions for this operation are:
View CA (DigiCert® CA Manager)
View CA configuration (DigiCert® CA Manager)
View system CA configuration (DigiCert® CA Manager)
If your user profile does not have the necessary permissions, the Download AE config file button will not be displayed.

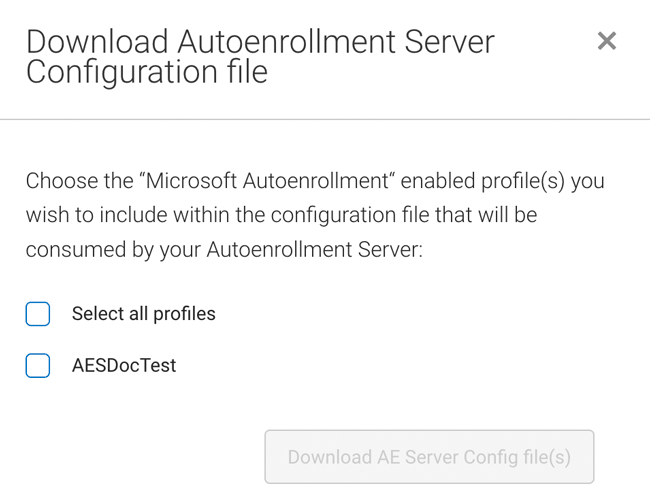
Select the certificate profile checkbox, then Download AE Server Config file(s).

Sign onto the Autoenrollment Server computer as AE Administrator.
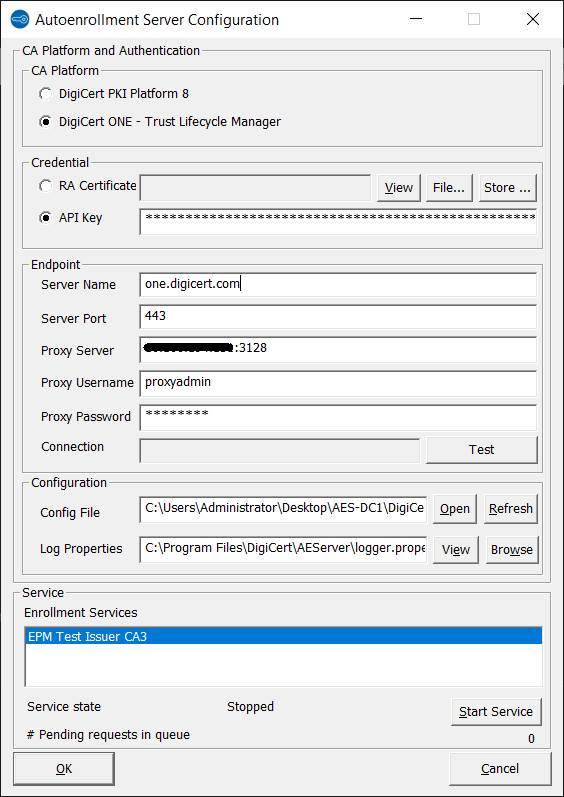
On the Start menu, select DigiCert, then right-click Autoenrollment Configuration and select Run as Administrator

In the Configuration section, select Open to the right of Config File. Navigate to the location of the configuration file downloaded in step 2 above and select it (or specify the absolute path to the file manually in the textbox next to Config File).The utility displays a dialog with the message:
“Do you really want to import the configuration (enrollment service, templates) and publish them to Active Directory? Note: This operation may take several minutes depending on system workload and imported configuration.”
Select OK to proceed or Cancel to abort.